Practicing Pilates at home is one of the simplest ways to build strength, improve posture, and reconnect with your body, right in your own space. With just a mat and a few minutes a day, you can enjoy a full-body workout that enhances mobility, tones muscles, and boosts overall wellness. In this guide, Olaben will help you set up your home practice, choose the right exercises, and stay consistent with ease.
1. What Is Pilates?
Pilates is a mindful movement method designed to build strength from the inside out. Instead of relying on high-impact exercises, Pilates focuses on controlled movements, intentional breathing pilates, and precise alignment to create a strong, stable, and balanced body. At its core, Pilates trains the “powerhouse”, your deep abdominal muscles, pelvic floor, back, and glutes, helping you move with better posture, fluidity, and ease in everyday life.
Developed by Joseph Pilates in the early 20th century, the method blends elements of strength training, flexibility work, and body awareness. Each exercise is performed with focus and control, making it accessible for beginners yet endlessly challenging for more experienced practitioners.
Whether practiced in a studio or at home, Pilates encourages you to move with purpose, connect with your breath, and build a body that is both strong and graceful.

2. Key Benefit of Pilates
Pilates offers a unique opportunity to connect with your body, practice at your own pace, and build long-term habits that improve strength, flexibility, and overall well-being. The following points highlight the key benefits that make home Pilates both effective and sustainable.
- Build a consistent routine with ease: Practicing at home removes the need to commute or adjust to studio schedules, allowing you to fit Pilates naturally into your daily life whether it’s a short morning session, a mid-day reset, or an evening wind-down.
- Create a focused, distraction-free environment: Your own space allows you to concentrate fully on breath, posture, and alignment without background noise, crowded studios, or time pressure, enhancing the mind-body connection.
- Progress at your own pace: Home practice lets you repeat exercises, slow down challenging movements, or modify routines, giving you the freedom to master form and technique while avoiding injury.
- Effective with minimal equipment: A simple mat or small props are enough to perform full-body workouts that strengthen core muscles, improve mobility, and tone your body, proving you don’t need fancy gear to get results.
- Supports whole-body transformation: With regular practice, you’ll notice stronger posture, better core stability, improved flexibility, and reduced stress, all achieved from the comfort of your own space.
3. 7 Best Pilates at Home
Half Roll-Down
Benefit: The Half Roll-Down activates the deep core muscles and improves spinal mobility. It gently warms up the abdominals, teaches proper spinal articulation, and prepares the entire posterior chain for more challenging Pilates exercises.
Step-by-step:
- Sit tall on your mat with your knees bent and your feet flat on the floor. Place your hands on the fronts of your thighs.
- Exhale and pull your abdominals inward. Tilt your pelvis so your lower back lengthens toward the mat.
- Slowly roll backward, starting from the upper back, then the mid back, and finally the lower back, until the lower back touches the mat.
- Pause for one breath. Inhale to prepare. Exhale and engage your core and hamstrings to roll back up, lifting one vertebra at a time until you return to a tall seated position.
- Complete 8 to 10 slow and controlled repetitions.
Safety tip: If you experience lower back discomfort, reduce the range of motion or consult a physical therapist for guidance.

Glute Bridge
Benefit: The Glute Bridge strengthens the gluteus maximus, hamstrings, lower abdominals, and hip stabilizers. It improves hip extension, supports pelvic stability, and helps counteract tightness caused by long periods of sitting.
Step-by-step:
- Lie on your back with your knees bent and your feet placed hip-width apart. Rest your arms by your sides with your palms facing down.
- Exhale and gently tuck your pelvis so your lower back feels supported on the mat.
- Press through your heels and lift your hips upward until your shoulders, hips, and knees form a straight line. Keep your ribs down and squeeze your glutes at the top.
- Inhale and lower your spine to the mat slowly, starting from the upper spine and finishing with the tailbone.
- Perform 8 to 12 controlled repetitions.
Single-leg variation:
- From the starting position, extend one leg straight out so both hips stay level.
- Push through the supporting heel and lift into a bridge while keeping the extended leg aligned with your torso.
- Lower slowly and repeat 6 to 8 times on each leg.
Safety tip: If you feel pressure in your lower back, lift your hips only halfway or switch to simple pelvic tilts. Avoid pushing through your toes.

Standing Side-Kick Series
Benefit: The Standing Side-Kick Series strengthens the legs, hips, and outer thighs while also engaging the core. Performing the exercise while standing challenges balance and coordination, helping to improve overall stability and muscle control in the lower body.
Step-by-step:
- Stand with your left foot on a yoga block or the floor, and your right foot firmly on the ground.
- Keep your shoulders relaxed and down. Flex the right foot and extend your leg out to the side.
- Squeeze your glutes to pull the leg back to the starting position.
- Repeat 8 to 10 times.
- Next, draw small circles with your extended leg clockwise for 8 to 10 repetitions, then counterclockwise for 8 to 10 repetitions.
- Switch sides and repeat the entire series with the opposite leg.
Safety Tips: If you have balance issues, perform the exercise lying on your side on a mat.

Side Plank
Benefit: Side planks strengthen the entire core, including obliques, transverse abdominals, and back muscles. They also improve balance, stability, and shoulder endurance.
Step-by-step:
- Start in a high plank position with your hands directly under your shoulders and your abs pulled in.
- Move your left hand toward the right hand, pivot your feet so the left foot is behind the right, and rotate your body to the right.
- Lift your left arm toward the ceiling and keep your hips lifted. Hold this position for 10 seconds.
- Return to the starting plank position and repeat on the left side.
-
Perform 8 repetitions on each side.
Safety Tips: To make the exercise easier, bend your bottom elbow and rest your forearm on the mat. You can also bend your top knee and place the foot in front of the bottom leg for added stability.

Lower Lift
Benefit: The Lower Lift targets the lower abdominal muscles, helping to build core strength and improve pelvic control. This exercise also supports spinal stability when performed with proper form.
Step-by-step:
- Lie on your back with your knees bent and feet flat on the floor.
- Place your hands under your buttocks with palms down to support your lower back.
- Lift your legs straight up toward the ceiling, bringing your heels together and allowing your knees to turn outward slightly.
- Pull your abs inward toward your spine and press into your hands. Exhale and slowly lower your legs to a 45-degree angle.
- Inhale and lift your legs back up to the starting position.
- Repeat for 8 controlled repetitions.
Safety Tips: If the exercise causes discomfort in your back, bend your knees, lift one leg at a time, or only lift your legs a few inches off the floor.

Criss-Cross
Benefit: The Criss-Cross strengthens the obliques and enhances spinal rotation, helping to improve core stability and functional twisting movements. It also engages the upper and lower abdominals simultaneously.
Step-by-step:
- Lie on your back with your knees bent in a tabletop position. Place your hands lightly behind your head with elbows pointing forward.
- Exhale and lift your head, neck, and shoulders off the mat into a small crunch.
- Rotate your torso and bring your left elbow toward your right knee while extending your left leg out.
- Return to the starting position and repeat on the opposite side, bringing your right elbow toward your left knee.
- Perform 8 repetitions on each side, maintaining controlled movements and steady breathing.
Safety Tips: If you have back discomfort, keep your feet on the floor and bend your knees while focusing only on upper body rotation.

Pilates Push-Up
Benefit: The Pilates Push-Up strengthens the triceps, shoulders, and core muscles. It also improves upper-body control and teaches proper alignment while lifting your own body weight.
Step-by-step:
- Begin in a high plank position with hands under your shoulders and your abs engaged.
- Squeeze your inner thighs to maintain alignment from hips to heels.
- Exhale as you bend your elbows and lower your body toward the mat, keeping your chest just above the floor.
- Inhale as you push back up to the starting plank position.
- Perform 8 controlled repetitions.
Safety Tips: If the movement is too challenging, perform the push-ups with your knees on the mat while keeping your core engaged.

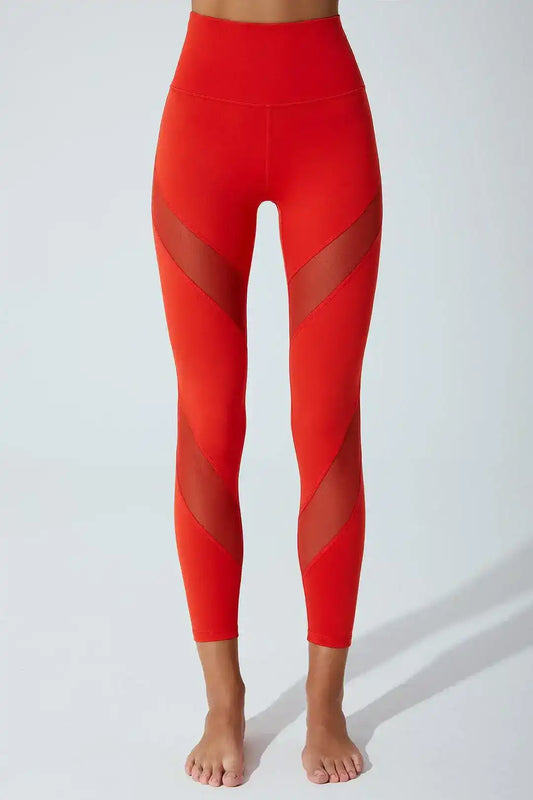
Pilates at home is a simple, effective way to build strength, improve posture, and feel more connected to your body. With just a mat, a calm space, and a few minutes each day, you can enjoy full-body movement that supports long-term wellness. As you explore the exercises and routines in this guide, let your practice be consistent, mindful, and enjoyable. And when you're ready to elevate the experience, Olaben offers a variety of pilates outfits from supportive leggings and sports bras to lightweight tops and essential accessories to help you move with confidence, comfort, and effortless style.