Pickleball is one of the fastest-growing sports, loved for its fun, fast-paced rallies and social vibe. If you’re a beginner, mastering the fundamentals can feel overwhelming, but it doesn’t have to be. With the right practice, you can improve your consistency, accuracy, and court confidence quickly. In this guide, Olaben has curated 20 essential pickleball drills specifically for beginners. Each drill focuses on core skills from groundstrokes and serves to dinking and volleys, helping you play smarter, move faster, and enjoy the game more from your very first session.
What You Need to Know Before Starting These Drills
Before diving into our drills, it helps to understand a few key fundamentals of pickleball. From basic skills like serving and dinking to more advanced shots such as Ernies and third shot drops, the game has a lot of layers but don’t worry, we’ve got you covered.
We’ve organized 20 essential drills into five main categories:
- Groundstrokes: Forehand and backhand drills to build solid shot mechanics.
- Serves & Returns: Focused practice to improve accuracy and control.
- Third Shot Drops: Solo, partner, or doubles drills to master this crucial shot.
- Dinking: Develop soft hands, precision, and consistency at the kitchen line.
- Volleys: Sharpen timing and positioning for effective net play.
Each drill includes a clear summary, the specific skill it improves, and step-by-step instructions.
Before you jump in, make sure you’re comfortable with three essentials:
- Proper paddle grip
- Footwork & body positioning
- Shadow practice techniques
Once you’re familiar with these, you’re ready to tackle the drills and start improving every aspect of your game.
Getting Ready: Fundamentals Before You Drill
Holding your paddle correctly involves a combination of grip pressure and hand placement, both of which directly affect the power and control of your shots. Your fingers are primarily responsible for applying pressure, while the remaining fingers help stabilize the paddle. How you place your hand along the handle also changes the angle of the paddle face, which influences your shot trajectory.
Grip Pressure
In pickleball, having “soft hands” is important. The closest way to achieve this is to grip the paddle lightly with your thumb and index finger while using the other fingers mainly for stability. Adding more fingers to apply force increases the pressure, and the tighter you squeeze, the stronger your grip becomes.

Grip Styles & Placement
Where you place your hand along the paddle handle affects power, control, and paddle angle:
- Placing your hand farther from the paddle neck increases power but decreases control.
- Placing your hand closer to the paddle neck increases control but reduces power.
Since the paddle handle acts like a column connected to the paddle face, how your hand wraps around it changes the rotation and angle of the paddle. That’s why different grip styles exist:
- Eastern Grip: A neutral style where the paddle face is almost vertical, with a slight forward tilt in your dominant hand.
- Western Grip: A closed angle with the paddle face tilting downward, providing more topspin.
- Continental Grip: Close to neutral but slightly open, where the paddle face tilts slightly backward.
Each grip has a specific purpose, and in the drills below, we will explain which style works best for each shot.
Footwork & Body Position
Footwork and body position are critical in all pickleball techniques. Footwork forms the foundation of all movements, while your body position determines whether you can hit shots consistently and correctly.

Footwork
Good footwork allows you to:
- Follow the pickleball rules, such as staying behind the baseline during a serve
- Reach the ball quickly and cover more of the court
- Stay prepared for any incoming shot
- Maintain agility and speed, which are key for competitive play
Body Position
Your stance directly affects your ability to execute shots. Holding your paddle around 18 inches in front of your chest helps you react faster and get into the correct position for every shot. Reaching the ball early and high also helps you control the ball better and reduces the chance of pop-ups.
Groundstroke Drills
Shadow Swings – Perfect Your Mechanics
Shadow swings are performed without a ball, letting you focus entirely on technique and body movement. This drill improves swing mechanics, power, and alignment.

Why it helps:
- Refines forehand and backhand form for more accurate shots.
- Engages legs, core, and shoulders to generate full-body power.
- Can be practiced anywhere, making it perfect for warm-ups or quick skill boosts.
Steps to Perform Shadow Swings:
- Find a flat surface (wall or garage door) and stand a couple of feet away.
- Assume your ready position.
- Swing as if hitting a ball, keeping your elbow up and body aligned with the target.
- Use your entire body to generate power.
- Repeat multiple times until your swing feels smooth and controlled.
Drop and Hit – Build Consistency and Timing
This drill focuses on timing your swing and developing a consistent contact point with the ball.

Why it helps:
- Improves hand-eye coordination for more precise contact.
- Strengthens timing on forehand and backhand shots.
- Helps keep shots low and controlled for better consistency.
Steps to Perform Drop and Hit:
- Stand in your ready position, holding your paddle in backhand grip (eastern or continental).
- Drop the ball in front of you and let it bounce once.
- Move into position and swing to hit the ball at the peak of its bounce.
- Keep your eyes on the ball and focus on consistent contact.
- Repeat several times, alternating forehand and backhand if desired.
Figure 8 – Footwork and Coordination
This drill focuses on footwork, rhythm, and backhand coordination, though it can also be applied to forehands. It helps beginners develop timing and consistent contact while moving.

Why it helps:
- Improves backhand footwork and overall movement, allowing you to reach balls more efficiently and stay balanced during rallies.
- Enhances coordination between your feet and paddle, making your swings smoother and more controlled.
- Builds rhythm in your movements, which directly boosts timing and consistency on both forehand and backhand shots.
Steps to Perform Figure 8:
- Stand in a ready position with your paddle in backhand grip.
- Move your feet in a figure 8 pattern:
-
- Step left with your left foot, then cross right foot in front of left.
- Step right with your right foot, then cross left foot behind right.
- Have a partner or ball machine feed balls to your backhand while moving.
- Focus on maintaining consistent rhythm and timing while hitting each shot.
- Repeat multiple times, gradually improving footwork and coordination.
Forehand to Forehand (Backhand to Backhand) – Control and Accuracy
A simple yet effective drill to build precision, muscle memory, and control on both forehand and backhand groundstrokes.

Why it helps:
- Improves shot consistency with a partner by reinforcing proper swing mechanics and positioning during repeated exchanges.
- Builds accuracy by targeting the same spot repeatedly, training muscle memory for precise groundstrokes.
- Gamifies practice to boost motivation, making drills more engaging while encouraging focus and friendly competition.
Steps to Perform Forehand to Forehand or Backhand to Backhand:
- Stand opposite your partner, starting near the kitchen line.
- Assume your ready position with the correct grip.
- Hit forehand groundstrokes back and forth, focusing on accuracy over power.
- Switch to backhand strokes and repeat the sequence.
- Track your consistency, aiming to keep the rally going as long as possible.
Cross-Court Rally – In-Bounds and Rally Winners
This drill focuses on diagonal rallies, teaching control, consistency, and court awareness.

Why it helps:
- Builds consistency on forehand and backhand groundstrokes, helping you maintain longer rallies with reliable shot placement.
- Improves footwork for sideline shots, enabling quicker reactions and better coverage of the court.
- Teaches strategic court positioning and rally control, so you can anticipate your opponent’s moves and dictate play more effectively.
Steps to Perform Cross-Court Rally:
- Stand diagonally across the court from your partner.
- Hit forehand to partner’s forehand or backhand to backhand, keeping shots in-bounds.
- Maintain the rally for as long as possible, focusing on rhythm and accuracy.
- Switch to backhands and repeat.
- Optional: Modify by keeping the rally alive even if precise placement is difficult.
Groundstroke Down the Line – Control and Accuracy
Designed for 4 players, this drill combines cross-court and down-the-line shots to improve shot placement and rally control.

Why it helps:
- Enhances accuracy and precision on straight shots, helping you place the ball exactly where you intend.
- Teaches when to mix cross-court and down-the-line shots for strategic advantage, giving you greater control over the flow of the rally.
- Develops rhythm in multi-player rallies, improving coordination with partners and maintaining consistent shot timing.
Steps to Perform Groundstroke Down the Line:
- Partner feeds a ball to your forehand (or backhand if dominant).
- Hit the ball down the line toward the opposite corner, or cross-court if appropriate.
- Rotate with all four players, alternating between line and cross-court shots.
- Repeat to maintain rhythm and control.
Switch Sides – Footwork and Positioning
This drill emphasizes movement, adaptability, and hitting from various court positions.

Why it helps:
- Challenges footwork and agility, helping you move quickly and efficiently across the court during rallies.
- Improves your ability to hit from different angles and distances, increasing versatility and adaptability in gameplay.
- Simulates game-like movement patterns, training your body to react naturally in real match situations.
Steps to Perform Switch Sides:
- Play with a partner, switching sides after every shot (right service area → left service area).
- Hit forehand and backhand from different positions without a set pattern.
- Focus on proper form: keep the ball in front, use full body rotation, and maintain balance.
- Continue the drill as long as possible, aiming for consistency and winners.
Serve & Return Drills
In pickleball, there are two types of legal serves: the volley serve and the drop serve. We’ll focus on the volley serve, the original and most commonly used serve.
A volley serve is an underhand serve with these rules:
- You cannot hit the ball above your waist.
- Your arm must move in an upward arc.
- The highest point of your paddle cannot go above your wrist.
- The ball is hit in the air, not after a bounce.
While this may sound complicated, it’s essentially an underhand hit. Once mastered, it becomes natural and sets the foundation for consistent, accurate serves.
Toss and Catch – Touch, Control, and Wrist Relaxation
The Toss and Catch drill develops soft touch, placement, and feel for the paddle.

Why it helps:
- Trains soft touch and paddle control, allowing you to direct the ball accurately.
- Enhances wrist relaxation and shoulder engagement for smoother, more consistent shots.
- Builds muscle memory for handling the ball during serves and volleys.
Steps to Perform Toss and Catch:
- Stand a few feet away from a wall or net.
- Toss the ball with your non-dominant hand.
- Catch it on the paddle, keeping wrist and arm relaxed, letting the shoulder do most of the work.
- Grip lightly with your thumb and index finger; use other fingers mainly for stability.
- Repeat until the motion feels smooth and controlled.
Serve to Target – Accuracy and Consistency
Target-based serving improves precision and teaches you to place serves strategically.

Why it helps:
- Builds accuracy by aiming for specific targets repeatedly.
- Reinforces consistency in serve technique under varying conditions.
- Develops muscle memory for strategic ball placement during matches.
Steps to Perform Serve to Target:
- Choose a target on the opponent’s side, such as a cone or court mark near the baseline.
- Serve the ball aiming for that spot.
- Repeat continuously, adjusting aim as needed.
- Focus on hitting your target repeatedly, building muscle memory and control.
Serve + Split Step – Footwork and Timing
This drill improves agility, timing, and court awareness after serving. A split step is a small jump landing with feet shoulder-width apart. It prepares you to react quickly to your opponent’s return. Essential for doubles and singles to maintain balance and readiness.
Why it helps:

- Trains quick reaction to opponent returns using proper split-step technique.
- Enhances balance and readiness for both singles and doubles play.
- Strengthens footwork and timing for smooth transitions from baseline to kitchen line.
Steps to Perform Serve + Split Step:
- Serve the ball.
- Immediately hop into a split step as your opponent hits.
- Transition with split steps moving from baseline toward the kitchen line.
- Practice until movements are fast, controlled, and timed properly.
Supporting Drills for Split Steps:
- T-Drill: Set cones in a “T” shape. Run forward, shuffle right, shuffle left, backpedal to start. This develops agility, speed, and footwork.
- The Splits Drill: Stand at the kitchen line. Step forward and split your feet as if reacting to an opponent’s shot. Land on the balls of your feet, then move to the ball. Repeat to improve reaction time and positioning.
Deep Returns – Accuracy and Power
Returning deep shots is a crucial skill that allows you to control the pace of the rally and push your opponents away from the net, giving you more strategic options.

Why it helps:
- Trains precision by aiming for deep court placement, forcing opponents into a defensive position.
- Develops power control, ensuring shots are strong enough to reach the baseline but still manageable.
- Reinforces proper footwork and body positioning to consistently execute deep returns.
- Builds confidence in handling serves from various positions on the court.
Steps to Perform Deep Returns:
- Start at the baseline in a ready position with knees slightly bent and weight on the balls of your feet.
- After your partner serves, step in and swing to hit a deep return, aiming one or two feet in front of your opponent’s baseline.
- Focus on controlled placement rather than just hitting hard, accuracy is key.
- Repeat multiple times, alternating between forehand and backhand returns.
- Gradually increase intensity by having your partner vary serve speed and placement to simulate real-game conditions.
Third Shot Drops – Control and Strategy
The third shot drop is a game-changing shot that allows you to neutralize your opponents, gain control of the net, and transition into an offensive position. Mastering this shot requires soft touch, precise placement, and good footwork.

Why it helps:
- Teaches touch and control needed to land the ball softly in the opponent’s kitchen, minimizing opportunities for an aggressive return.
- Improves court awareness by training you to judge depth, angles, and positioning for strategic advantage.
- Strengthens hand-eye coordination and reinforces proper paddle grip and body mechanics.
- Builds consistency in a key strategic shot that can dictate the flow of doubles or pickleball singles matches.
Steps to Perform Third Shot Drops:
- Prepare at or just behind the baseline in your ready position.
- Hit a soft shot that lands in the opponent’s kitchen, focusing on controlled trajectory rather than power.
- Step into position with proper footwork to prepare for the next shot.
- Repeat until the shot becomes consistent and reliable, alternating between forehand and backhand if needed.
- Optionally, increase difficulty by having your partner vary depth or spin to simulate match conditions.
Wall Drops – Practicing Precision
Using a wall or object as a target is a highly effective way to practice third shot drop accuracy and develop a consistent arc. This solo drill allows beginners to focus on touch, trajectory, and placement without the pressure of a partner or rally.

Why it helps:
- Enhances precision by aiming for a fixed target, helping you control the depth and arc of your third shot drop.
- Builds muscle memory for the soft touch needed in real-game situations.
- Improves hand-eye coordination and timing when preparing for net play.
- Encourages proper paddle angle and follow-through without rushing the shot.
Steps to Perform Wall Drops:
- Place an object (cone, chair, or wall mark) about 3 feet high, 10–12 feet away from you.
- Stand in a ready position with your paddle prepared and body square to the target.
- Drop the ball and hit it so it arcs over the object, simulating a soft third shot drop.
- Focus on controlling the paddle angle, touch, and trajectory rather than hitting hard.
- Repeat multiple times until you can consistently land the ball with the desired arc and placement.
- Optionally, move the target or vary the distance to increase difficulty and challenge your accuracy.
Return and Drop – Angles and Adaptability
This drill helps you practice third shot drops from different types of returns, teaching adaptability and control in game-like scenarios. It improves your ability to read the ball and adjust placement for strategic advantage.

Why it helps:
- Develops accuracy and soft touch under more dynamic conditions, simulating real match situations.
- Trains quick decision-making and positioning for different return angles.
- Strengthens control over paddle face and trajectory to consistently land the ball in the kitchen.
- Improves reaction time and footwork, preparing you to handle diverse opponent shots.
Steps to Perform Return and Drop:
- Stand at the baseline in a ready position with the paddle prepared.
- Have a partner hit a variety of groundstrokes simulating returns (short, deep, angled).
- Respond with a controlled third shot drop, aiming for the opponent’s kitchen.
- Focus on soft touch, precise placement, and correct paddle angle.
- Repeat the drill multiple times, alternating between forehand and backhand drops.
- Gradually increase difficulty by having your partner vary shot speed, spin, and placement to mimic real match conditions.
Dinking & Third Shot Drills
Dink Accuracy Drill – Consistency at the Kitchen
Dinking is all about controlled, soft shots that land precisely in your opponent’s kitchen. Mastering this shot allows you to slow the pace of the game, control rallies, and force opponents into mistakes. Developing a reliable dink builds confidence and forms the foundation for strong net play.

Why it helps:
- Improves precision and soft touch, allowing you to consistently place shots in challenging areas for your opponent.
- Builds muscle memory, helping you perform dinks instinctively during fast-paced rallies.
- Teaches patience and strategic thinking, as you learn to wait for the right opportunity to attack.
- Reinforces proper paddle angle, grip, and wrist control for delicate net play.
Steps to Perform Dink Accuracy Drill:
- Set up a row of cones or small targets across the net on your opponent’s side.
- Stand near the kitchen line in your ready position.
- Hit each target with a soft dink, concentrating on precision and controlled paddle movement.
- Start with a few targets to build confidence, then gradually increase difficulty by adding more targets or moving them around.
- Repeat the drill consistently, focusing on accuracy, control, and smooth footwork.
- Over time, aim to reduce errors and perform dinks with minimal effort, making them feel natural during gameplay.
Two Up, Two Back Drill – Communication & Control
This doubles drill emphasizes teamwork, positioning, and dinking skills. Players learn to anticipate shots, communicate effectively, and maintain control of the rally, simulating realistic match conditions.

Why it helps:
- Strengthens communication and coordination between partners, a critical skill in doubles.
- Enhances dinking under realistic game pressure, training soft touch, and placement.
- Develops patience and decision-making at the net, helping players recognize when to attack or sustain the rally.
- Reinforces proper movement, paddle angle, and readiness for quick exchanges.
Steps to Perform Two Up, Two Back:
- Divide into two pairs: one pair at the kitchen line, one pair at the baseline.
- Kitchen line players dink the ball back and forth, focusing on soft, controlled shots aimed to challenge the opponent.
- If a ball gets past the kitchen line, baseline players move forward to the net, while the previous kitchen players rotate back.
- Continue the drill, switching positions fluidly and maintaining focus on touch, placement, and smooth footwork.
- Repeat until both pairs are comfortable sustaining rallies and controlling dinks in different situations.
- Gradually increase intensity by having baseline players vary return angles or speed to simulate real match pressure.
Third Shot Drop Drill – Setup for Net Play
The third shot drop is one of the most strategic shots in pickleball. It allows you to neutralize your opponent’s position, slow down the pace of the rally, and transition safely to the net. Mastering this shot gives you control of the kitchen line, creating opportunities to dominate play and dictate the flow of the game.

Why it helps:
- Teaches the essential third shot drop, a critical tool for advancing toward the net.
- Develops control, accuracy, and consistent placement under various rally conditions.
- Enhances court awareness by training players to judge distance, speed, and trajectory.
- Reinforces soft grip, proper paddle angle, and footwork for delicate net shots.
Steps to Perform Third Shot Drop Drill:
- Stand at or just behind the baseline in your ready position.
- Receive or drop the ball and hit a soft shot aimed to land in the opponent’s kitchen.
- Concentrate on placement over power, letting the ball drop naturally and controlling the bounce.
- Repeat the drill multiple times, adjusting paddle angle and foot placement as needed.
- Track consistency and gradually challenge yourself by varying the depth or angle of the shot.
- Over time, aim to perform the third shot drop reliably during rallies, preparing for smooth net approaches.
Toss Up Drill – Timing & Coordination
Looking to improve your hand-eye coordination and quick reaction time for volleys? The Toss Up drill is a simple solo exercise that prepares you for fast exchanges at the net. By tossing the ball between your hands, you train your eyes, hands, and body to move together, making it easier to intercept shots and respond accurately during a real game.

Why it helps:
- Trains reaction time, hand-eye coordination, and anticipation for volley situations.
- Improves the ability to track the ball early, meet it at the right height, and respond with control.
- Prepares players for quick, controlled volleys under real game pressure.
- Reinforces soft hands, relaxed grip, and smooth wrist movement, essential for accurate net play.
Steps to Perform Toss Up Drill:
- Stand close to the net in your ready position.
- Toss the ball with your dominant hand and catch it with your non-dominant hand, keeping motion smooth and controlled.
- Switch hands, tossing and catching repeatedly, focusing on timing and coordination.
- Gradually increase the height and speed of tosses to challenge reflexes and precision.
- Repeat the exercise until your hand-eye coordination and timing feel natural, improving readiness for volleys during actual play.
- Optionally, incorporate small paddle hits to the ball instead of catches, simulating real volley contact for added skill transfer.
Volley & Reaction Drills
Volley Spot Drill – Position & Angles
The Volley Spot drill helps you practice hitting volleys from different areas on the court, teaching you to control angles and placement. By starting at the kitchen line and moving back to the baseline, you simulate real-game situations where volleys can come from any distance, helping you intercept your opponent’s shots and gain control of the rally.

Why it helps:
- Builds comfort hitting volleys from multiple court positions, helping players react effectively whether at the kitchen line or the baseline.
- Improves placement and angles, teaching players how to strategically direct the ball and create opportunities during rallies.
- Enhances decision-making under pressure, enabling smarter shot selection and tactical play.
Steps to Perform Volley Spot:
- Start at the kitchen line, paddle ready, knees slightly bent, and weight on the balls of your feet.
- Hit a volley toward your partner or a target, then move back to the baseline and hit another volley.
- Alternate positions while focusing on placement, not power.
- Vary speed, direction, and angle of your volleys to mimic game scenarios.
Back-and-Forth Drill – Consistency & Reaction
This drill emphasizes volley consistency, reflexes, and control. Two players volley back and forth, gradually increasing distance or complexity, helping develop the ability to hit soft, accurate volleys while maintaining control and adapting to different shot placements.

Why it helps:
- Enhances reflexes and quick decision-making, training your body and eyes to respond immediately to unexpected ball trajectories.
- Strengthens the ability to maintain long rallies, teaching players how to sustain pressure while keeping volleys in play.
- Develops precision in placement, enabling you to target opponents’ weak spots and exploit openings on the court.
- Builds mental focus and anticipation, so you can adjust your positioning and shot selection as the rally evolves.
Steps to Perform Back-and-Forth:
- Stand at the net with your partner on the opposite side.
- Start volleying back and forth, keeping the ball in play and controlling speed and placement.
- Vary angles and direction to challenge each other and simulate game-like situations.
- Gradually increase distance while maintaining controlled, accurate volleys.
Gear Up with Olaben for a Complete Pickleball Experience
Mastering the fundamentals of pickleball doesn’t have to be intimidating. By consistently practicing these 20 essential drills from groundstrokes and serves to dinking and volleys, beginners can develop precision, control, and confidence on the court. Each drill builds specific skills while reinforcing key concepts like grip, footwork, and court positioning, helping players progress faster and enjoy the game more.
Whether you’re preparing for solo practice or partner rallies, having the right gear can make a subtle but meaningful difference. Olaben supports beginners and seasoned players alike by offering thoughtfully designed pickleball equipment, including pickleball paddles, balls, hats, socks, and bottles.
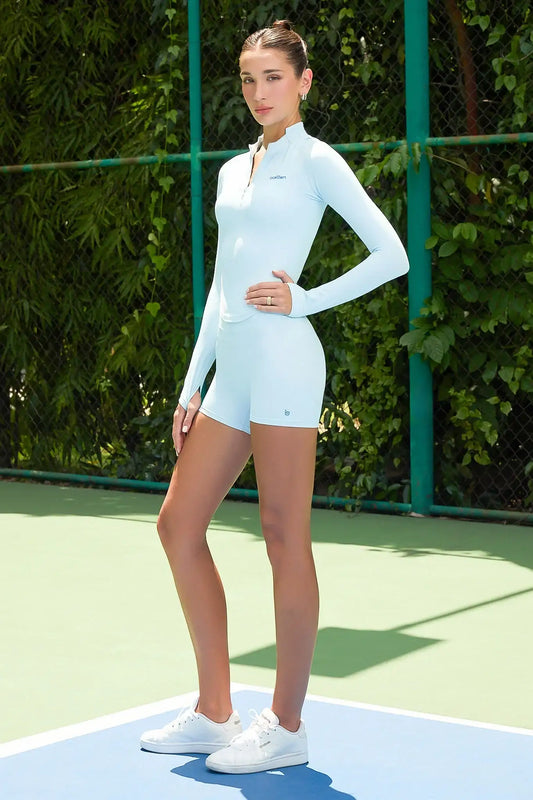
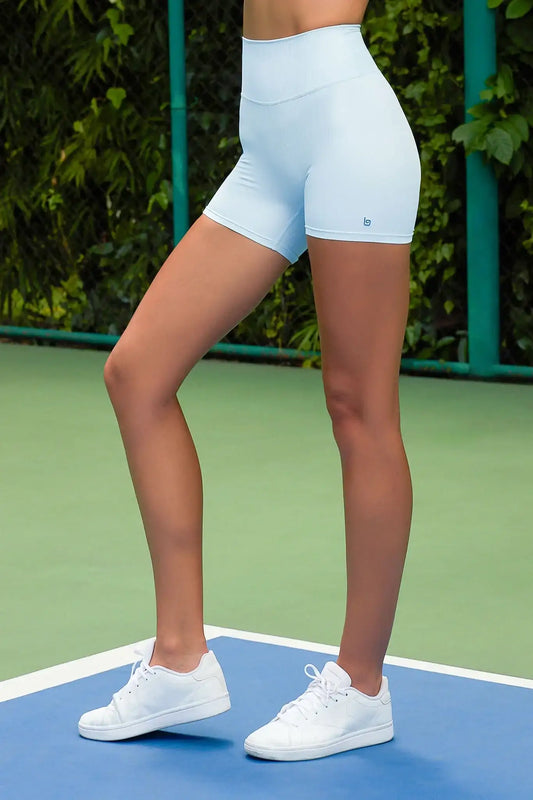
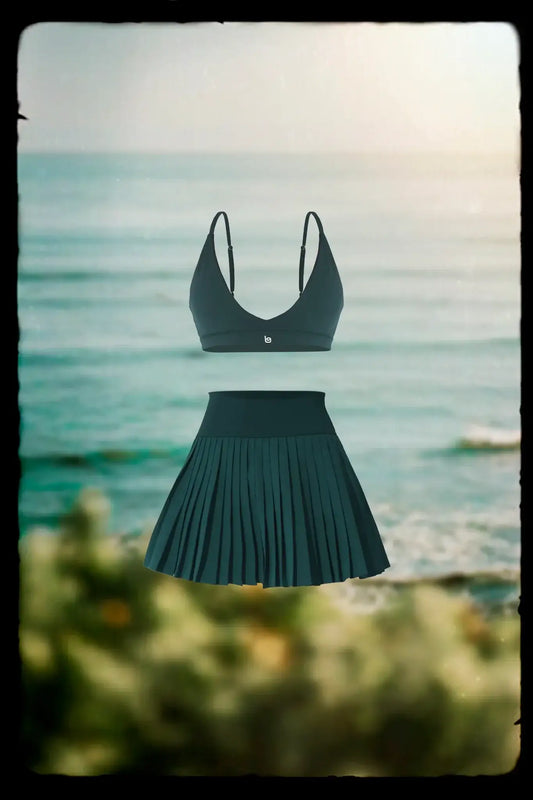
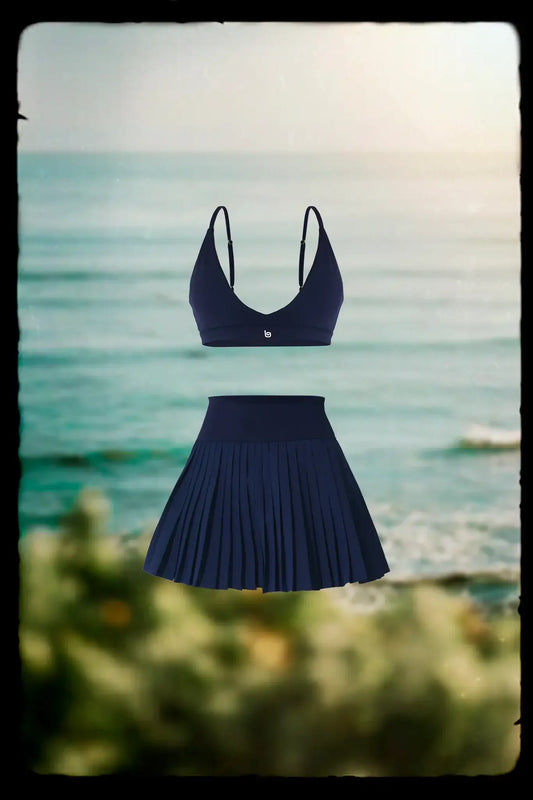
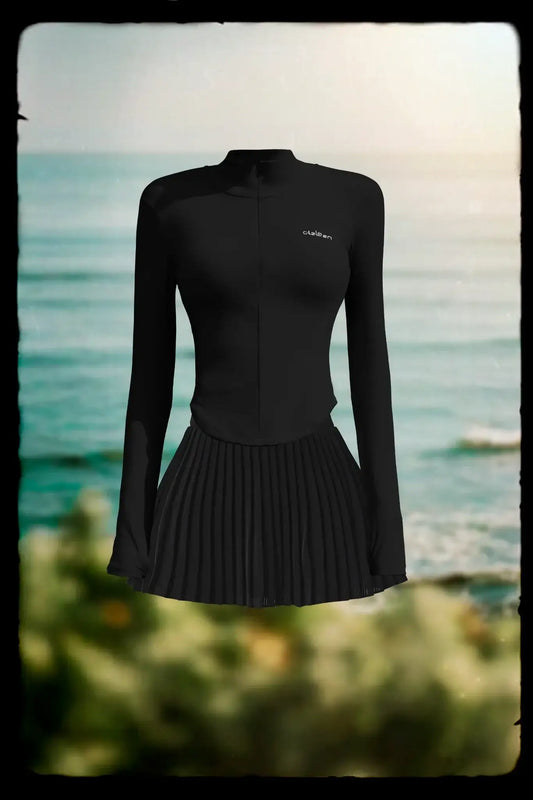
Besides, Olaben also provides comfortable pickleball apparel for women as skirts and dresses as well as pickleball men's apparel collection like shorts, men's short sleeves. Combining structured practice with quality gear ensures a more enjoyable, effective, and safe pickleball experience.
With dedication, patience, and the right tools, every beginner can steadily transform into a confident player ready to enjoy the fast-paced fun and strategy that pickleball has to offer.